Thursday, March 31, 2011

Beachy Wreath


A few weeks ago, Dragonfly Designs had a giveaway for a beautiful wreath that I could just visualize hanging in my bedroom (which has a beachy style).  

 Here is a picture of the Giveaway Wreath.
Isn't it awesome????


I took advantage of every way to enter the giveaway for that wreath. But, unfortunately, I didn't win it. 


So, I have been thinking about that wreath for a few weeks.  This week, I had an evening at home alone with several episodes of My Fair Wedding with David Tutera on my DVR to watch.  (I very rarely watch TV without my laptop or some craft on my lap.)  Before my evening started, I headed to the craft store to get the supplies to make my own "Beachy Wreath".  When I went to the store to buy the felt, I decided to try it with Ecru instead of turquoise.

I was imagining one of those beautiful beaches with tall beach grass and soft smooth sand. The ecru reminded me of a cute little sea shell just sitting on that soft sand.   *Totally off topic, but where are those beaches, with the beautiful tall grasses?????  I live in California and have been to almost every beach along our coastline (and a couple in Oregon) and I have never seen that beautiful tall grass.  Lots of photogs have family portraits on their websites of families sitting in the midst of this amazing beach grass, so I know it exists.   Hmm,  I have never visited the beach on the East Coast.  Will those of you on the East Coast tell me if your beaches have that amazing beach grass?  Sorry, back on track.

I went to Dragonfly Designs and used her Tutorial (Click Here to see Tutorial).

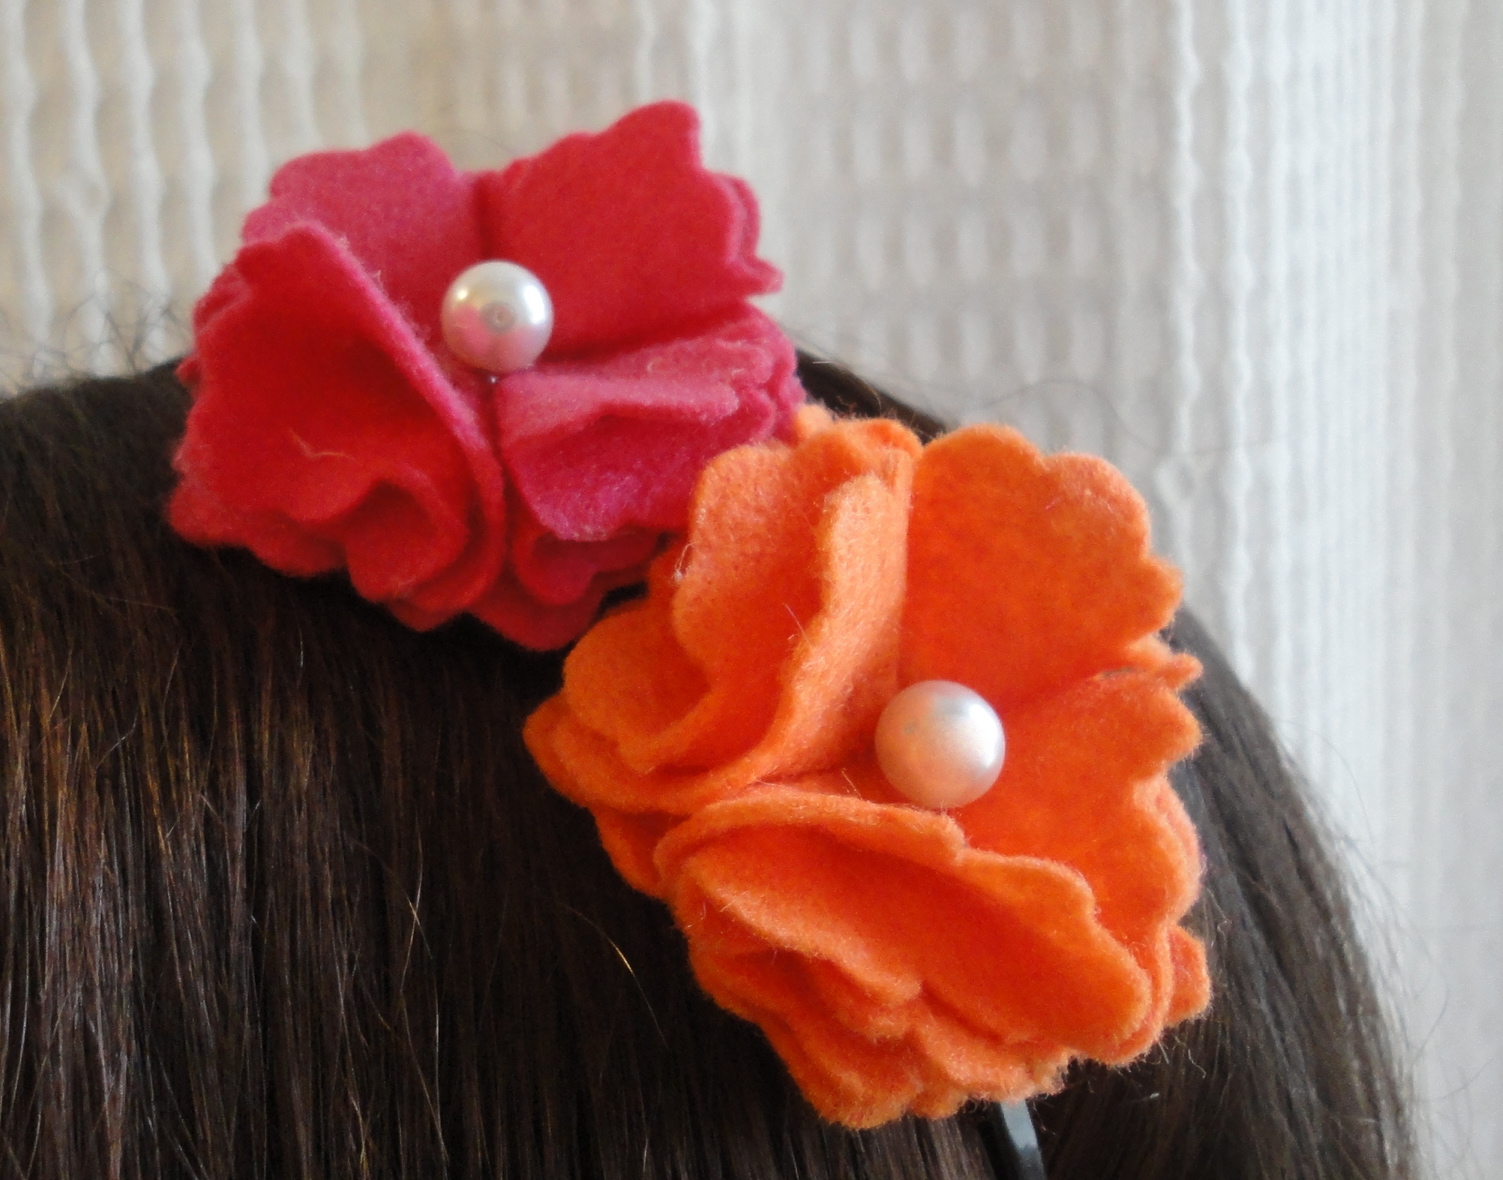
Here is how mine turned out!


I love how it kind of looks like coral.  

I noticed that as the light changed in my room, it looked a little different.  So, I tried a few different spots to capture a good shot.  I couldn't decide which one I liked, so here they are.


I'm so happy with it.  I hope you are inspired to try one too.  The tutorial was easy to follow.  She stated that it was a little time consuming to make the flowers, and it was.  She also mentions that you need several glue sticks and I definitely used A LOT of glue sticks.  But, I think it was worth every one.


In addition to the weekly link parties on the right side of my blog, I am also linking here:

Photobucket

Tuesday, March 29, 2011

Wordy Wednesday#3


"My profession is to always find God in nature."
 - Henry David Thoreau

This is a picture I took from on top of the sand dunes at Pismo Beach, California a few years ago.  I just thought I would share it with the world today because I am wishing I was there today.

Pretty Pink Coffee Filters

I have seen several projects using coffee filters lately and decided to try to color some for a couple of projects that I wanted to do.  All of the projects I have seen colored the filters using food coloring, but since I have an abundance of paint, I decided to try it with paint. (An experiment)


  I put some paint in the bottom of a paper plate, then added some water and mixed it with a paint brush.


Then, I took a stack of coffee filters and placed them in the middle of the paint tinted water.


One issue with using the paint tinted water instead of food coloring is that there is an excessive amount of water soaked into the coffee filters.  So, first I picked them up and let them drip for awhile.


I read somewhere that you could dry them in the dryer.  However, the blog that stated this hadn't used paint.  As you can see, it left it's mark behind on the inside of my dryer.  But, it did dry them in about 15 minutes instead of the hours the ones I left out to dry took.


Thankfully for me, I have discovered the wonderment of the Mr. Clean Magic Eraser!  I had to use my muscles a little bit, but the Magic Eraser took the pink paint right off.  As a Kindergarten Teacher I have found many amazing things to use that little magical eraser for.  (I am not being paid by Mr. Clean, I just really love the product.)

Here is the beautiful stack that resulted.


I'm not sure that I would use my dryer next time, but it was a fun experiment.  Now to decide what to make with them first.  Hmmm.


Sunday, March 27, 2011

Meandering Monday #4

I hope you all had a fabulous weekend!  I had a relaxing weekend that included a lot of blog hopping.  I found some things that made my heart happy.  Just to remind you, if you want to go directly to the project, click the name of the project or the picture.  If you want to visit the homepage of the blogger, click the name of the blog.

I just love this PVC Pipe Mirror by Thrifty and Chic.  It may be because my hubby is a Plumber and we always have PVC Pipe in our garage.  But, I love that she made something beautiful out of something so non-glamorous.


It is technically spring, but we have not seen a lot of spring weather here in California.  So, when I saw this beautiful colorful Spring Sign by Mod Podge Rocks, it just made me happy.


This cute Easter Egg Bling project by Landee See Landee Do, made me really look forward to decorating our eggs this year.  My little girl is 3 now, and she loves being crafty and REALLY loves anything with bling.


This Paper Star from The Lovely Residence is so amazing!  It looks so intricate, but the tutorial makes it seem very do-able.  


There are so many great Anthro-inspired projects out there right now.  I really loved that I could go into my backyard to create this one.  I'm loving this Anthro-inspired Driftwood Hurricane by Homemaker in Heels.


The final project that caught my eye this week is this Terra Cotta Herb Pot by Scissors and Spatulas.


Tuesday, March 22, 2011

Pink and Orange Flower Headband

This week I came across this adorable flower at Just Made That Way.  Well, since it seems that I am slightly obsessed with felt flowers these days of course I fell in love with it.  So I decided to make some for myself and ended up with a headband.  This headband was created for my beautiful daughter, but she was way to busy helping daddy out in the yard to pose for a pic today.  So, some of the pics are of the headband on my head instead. Hehehe.


This is how I made it.
First I followed the advise of this tutorial on iCandy Handmade and used a flower template.  I printed the  clip art and cut out the three flowers to use for cutting templates.  For the headband, I used the small flower.  For the flower tutorial below, I used the large flower so it would be easier to see in the pics.  When I use a template, I like to pin the paper template on top of the felt and cut it out.


I used the template to cut out five flowers out of felt.  One of the flowers is used as the base and the other four are glued to it as petals.  I put a little bit of glue in the middle and folded each flower in half.  Then put a little glue in the middle of the half and fold it in half again.  Next, glue the four folded flowers to the base flower.


When my petals were on a glued a pearl bead in the center.


I made a pink and an orange one and then glued them to a headband.  I glued a felt circle over the headband side for added support.


I love the way it turned out.


Monday, March 21, 2011

Monday Meandering #3

There are so many things that I have seen on my weekend meandering that I just love.  I want to share a few of them with you this monday.

Just to remind you, you can click on the name of the blog for a link to the blog's homepage or you can click on the picture for a link to that particular project.

The first project that made my heart happy this week is this adorable Paint Chip Purse by Infarrantly Creative.  They have three things that I love incorporated into one adorable project.  Of course you already know about my love affair with paint chips, and who doesn't love a cute little purse.  But, to top it off with wonderful feelings, there is a little post-it pad inside.  Oh my goodness, paint chips, girly cuteness AND office/school supplies.  Now you see why I loved it so much.


The next lovely thing I fell in love with was this super cute top with a coordinating cardigan from Domestic Deadline.  I am by no means a seamstress, but I may experiment with something like this.  I just love the colors and the ruffles.


This next thing is soooooo cute!!!!  But, I have to say, I love argyle, checks, stripes and basically plaid of any kind.  It is something I have in common with my Grandma (who is the most awesome human on the planet, I must say).  I have always loved patterns and this wreath just made my heart beam with happiness.  Here is the most amazing Preppy Pyxis Argyle Wreath by The Crafty Scientist.


I haven't done a lot of Easter decorating yet, but I just love this Easter Egg Garland by I Should be Mopping the Floor.  Plastic Easter Eggs are so inexpensive, and this colorful garland would bring so much cheer to any room or celebration.


Lastly, I came across this really cute button Easter Egg and Felt Bunnies by Auntie Lolo Crafts.  It just looked so yummy, I had to include it.


I had a lot of fun meandering through link parties this weekend.  Thank you to the creators of these great projects.


Saturday, March 19, 2011

Duct Tape Wallet #1

One day I was talking to a friend about how I needed a project to make for my blog.  She mentioned that she had some fun Duct Tape and had seen some tutorials on how to make a wallet out of them.  So, I watched a video tutorial on Youtube and decided to go for it.  Of course I modified some things, and there were A LOT of steps.  Now I see why it was a video tutorial.  Here is my first ever duct tape wallet.

This is the front


This is the inside


I made pockets on  both sides of the inside.
(Please excuse my hideous fingernails, oops.)


My beautiful friend loved it!


I am going to make another one soon so I can attempt to make a simple tutorial.  Please check back for the Duct Tape Wallet Tutorial.

I am joining the Tape party at Its So Very Cheri.  The weekly parties that I join are on the sidebar to the left.


Wednesday, March 16, 2011

St. Patrick's Day

Happy St. Patrick's Day!  
I have been very busy in my classroom this week with St. Patrick's Day activities.  We have had a tricky little leprechaun visiting our classroom when we are out all week.  So, this week my students created Leprechaun Traps, with their families, and we set them out this afternoon.  We are hoping to catch him tonight.  Since we have had such a great time this week, I just wanted to share a couple of pictures.  Of course I cannot post pics of my adorable students, but I know you can imagine them learning lots and enjoying this week.

Here are some pics of the Leprechaun Traps that my students made.


If you notice those little green footprints, those are what my students will find tomorrow morning.  This is the proof we need that he has been around.


Aren't they adorable????  I am so proud of them.
Here is a pic of a rainbow cupcake that I made for them to show them how proud I am of them.  I have been seeing these cupcakes all over the blogland and I just couldn't resist making some.